I vividly remember the weeks leading up to Maggie coming home for the first time.
I spent every day researching exactly what she’d need and how I could make her feel at home.
Buying a crate was one of the first things that would pop up in any search results. Crates are important for puppies, and I wanted her to feel as safe and happy as possible.
I set out on an internet journey, comparing all the crates and prices until I finally found the right one for her size and my budget.
When it arrived, I was confused and even a little panicked.
How was I supposed to put it together, much less break it down for future vacation with Maggie?
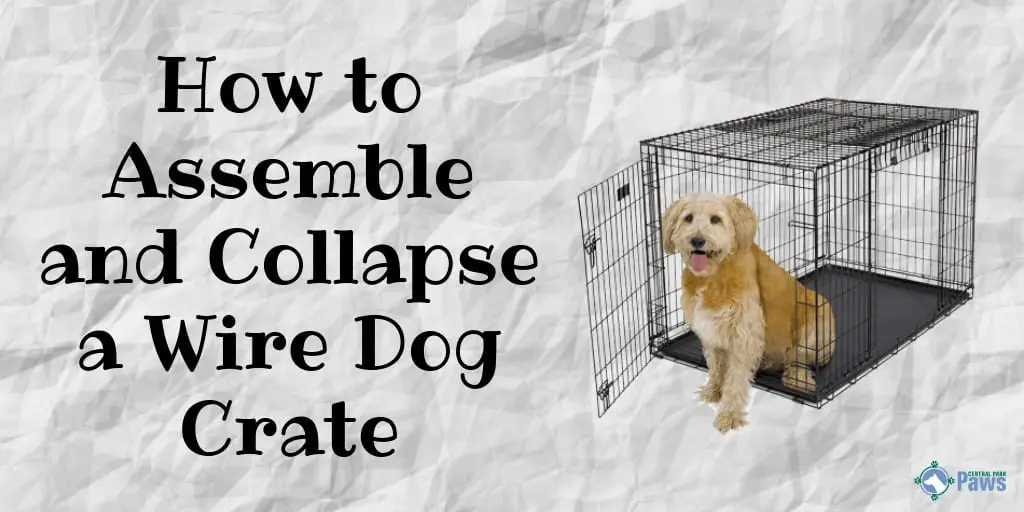
Here’s the guide I wish I’d had during that time. Wire crates are really no big deal, and you’re about to find out just how easy they are to handle.
How to Put Together a Metal Dog Crate
It’s so important to have the crate ready to go for your dog.
They’re the modern version of a wolf den. Dogs use them to feel safe and have their own space [1].
Don’t worry about not knowing how to put it together. Try these easy steps and your crate will be functional in no time!

Step 1: Remove the Crate
Taking the crate out of its box sounds easy, right?
It’s actually heavier and more awkward than I expected, so grab a friend or family member to have them hold the box while you pull out the crate.
You can also use a box cutter to take the box apart, but be careful not to scratch or damage the crate inside by applying too much pressure.
You don’t want to accidentally leave the metal chipped in a place where it could rust or your dog could lean against it and scratch themselves.
Step 2: Insert the Plastic Pan
Dogs have to have the plastic pan inserted in the bottom of the crate, or else they’d be extremely uncomfortable on the metal bars[2] (check out our tips on how to make your dog’s crate more comfortable).
Double check that the plastic pan has been slid into the bottom of the crate and that the pan is flat on the floor.
Step 3: Lift the Top Layers
Although the wire crate may look like a jumbled mess, it’s already all connected.
You don’t need to assemble the crate pieces individually, which saves you a lot of time.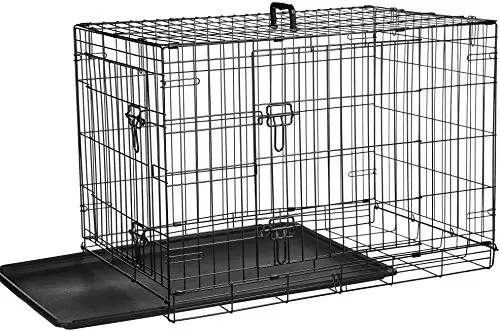
Instead, all you have to do is carefully lift the top layers of the crate.
These will be the front and back of the crate, laying on top of each other.
Try to lift them up and lean them back so they’re no longer on top of the crate. Someone can also hold these upright for you if you have a helper.
Step 4: Pull Up the Last Layer
The last layer is a combination of the top of the crate, plus the two sides.
They’re all connected, so they should pull straight up easily.
Step 5: Hook the Crate
There should be small metal hooks at the top edges of both the front and back of the crate.
Hook them over the top of the crate to secure both pieces in place.
Look for any other hooks that need to be latched in the same way.
Different sized crates will have different amounts of hooks.
Step 6: Test It Out
Apply light pressure to the top of the crate and push gently on each side.
If anything feels too loose, check for more hooks.
The crate should be able to take the weight of your dog leaning or pushing against it.
Step 7: Insert the Crate Divider
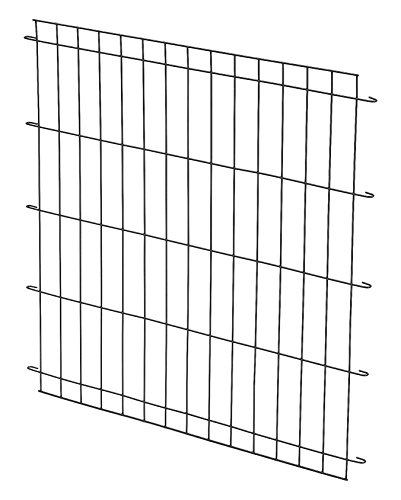
If you’re setting up your crate for a puppy, your crate probably came with a crate divider.
It’s one piece of the crate that isn’t attached to anything else.
The crate divider keeps your pup from wandering around the crate and going to the bathroom while they’re in it[3]. It’ll have two hooks on either side that attach sideways to the walls of the crate.
If your dog is a little older and already knows where to go to the bathroom, set the crate divider aside for any future puppies you may bring home.
Video
If you’re more of a visual person like me, here is a video detailing the steps:
How to Collapse a Wire Dog Crate
I remember taking a picture of the crate once it was all set up, and then feeling worried about how I’d fit it in my small car when Maggie and I would go home for the upcoming holidays.
Don’t wait a few months to face this fear like I did!
Crates are just as easy to take apart as they are to put together.
Here are the 3 simple steps to collapse a dog crate:
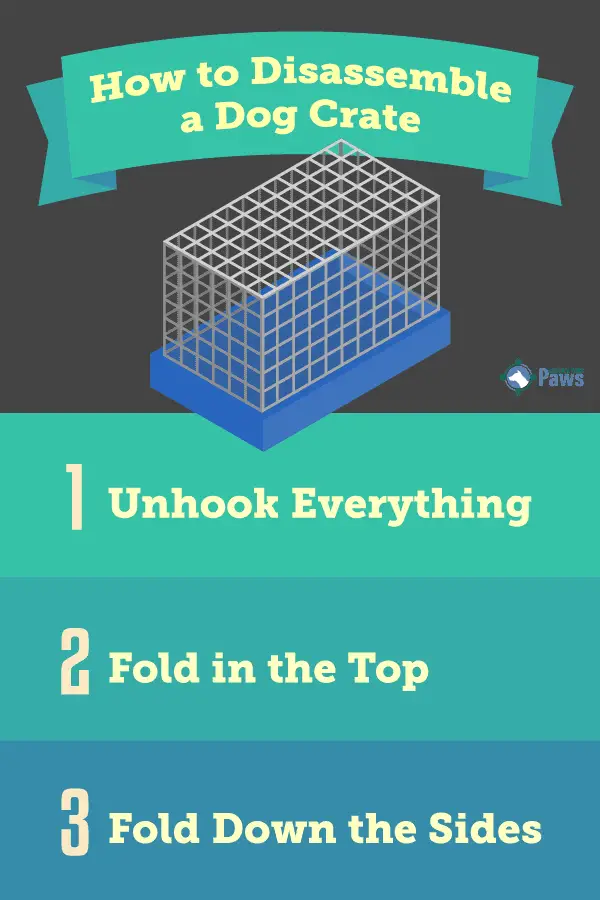
Step 1: Unhook Everything
To get the crate to collapse, you’ll need to unhook everything.
Completely remove the divider if you’re using one, and then unhook all the walls of the crate.
Step 2: Fold in the Top
The top should collapse onto the crate tray along with the two side walls.
Let it collapse naturally and just make sure it’s flat once it’s all down.
Step 3: Fold Down the Sides
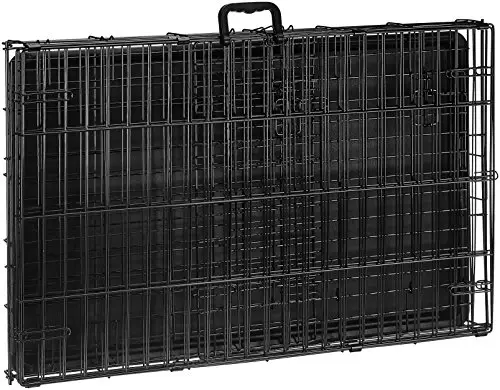
The front and the back should then fold down on top the rest of the crate, forming a very flat rectangle of metal bars.
Some crates feature extra hooks that will hold everything in place once it has been collapsed, but others don’t.
Look around for these hooks to be sure. Also, don’t worry about the crate pan. You can leave it in there without bulking up the crate.
Video
And here’s a video showing the steps for how to collapse a metal dog crate:
Conclusion
Maggie’s first small crate was easy to fold into and out of place by myself, but her larger crates in the future got more difficult.
Nothing changed about how I put them together, but I found that I needed a second person to help hold everything in place before the hooks were used.
Don’t forget that your crate will also come with an instruction pamphlet, so you can always double check that as you assemble or disassemble it for more specific guidance.