Before I brought Maggie home, I spent time researching the crate she would need.
There are so many different kinds of crates out there that come in all kinds of sizes.
I didn’t want her to use the crate in the wrong way.
It was supposed to be a place where she felt safe, where her toys could hang out while she played or napped.
The more I read about crates, the more I realized that puppies can often go to the bathroom in them.
This actually reverses any crate training they might have learned, which is where crate dividers come in.
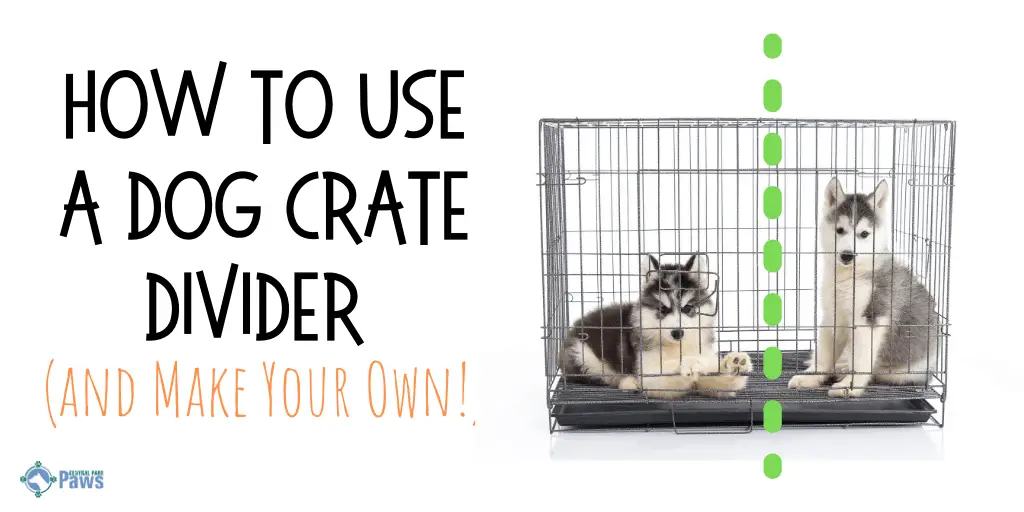
Read on to learn how to use a dog crate divider and even make your own. You’ll never go back to looking at a crate the same way again.
The Purpose of Crate Dividers
Click this image for more info!
When your puppy is eight weeks old, they’ll be super tiny.
Even large breed dogs will start out smaller than you might expect, which is why crate dividers are so important.
Many dog owners, myself included, want to invest in a crate that their puppy can grow into.
That means skipping the small and maybe even the medium sized crates.
It’s a budgeting move that’s completely fine to make, as long as you use a crate divider when your dog comes home.
The divider will limit how much space your puppy has to walk around in their crate, preventing them from peeing in one corner and sleeping in another.
This is crucial to ensure proper crate training[1]. Dogs won’t want to go to the bathroom where they’re also lying down, so limiting the space of a large crate is the best thing you can do for your puppy.
How to Use Them
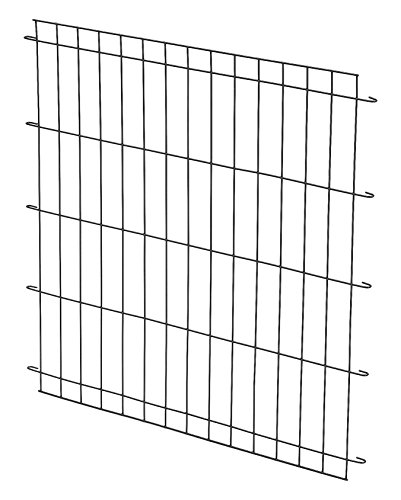
Standard crate dividers will come with the crate you buy, most of the time.
They’ll be made out of the same metal material as the walls of the crate, except it will be one stand-alone panel.
The panel will have hooks on three sides, leaving the fourth to line against the crate tray. Check for instructions that should come with your crate for specifics, but there’s a general way to install a crate divider.
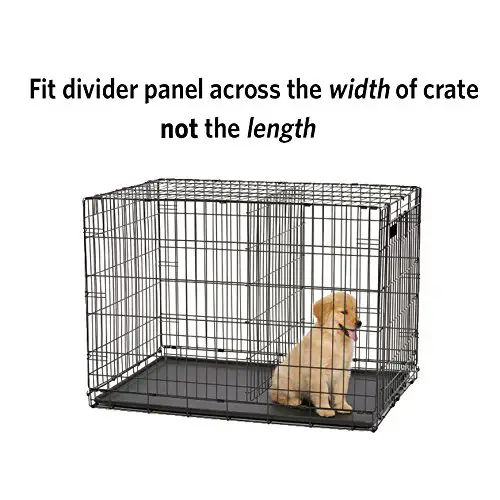
After you’ve completely finished assembling the crate, slide the crate divider in through the doggy door.
Attach the hooks on both sides to the walls of the crate, right in the middle of the crate tray.
After the hooks are attached to the crate walls, there should be hooks on the top of the crate divider that will hook onto the top of the crate.
Once that’s completed, you should be able to jiggle the crate divider and even apply pressure without it slipping out of place.
How Long to Use Them
How long you should use your crate divider will depend on your puppy’s potty training and how big they become.
No dog should ever be left in a crate where they can’t sit, lay down, or move around comfortably.

If you notice that your puppy seems stuck between their crate divider and the crate door, it may be time to adjust or remove it.
Crate dividers can be inched back in the crate as your dog grows, so faster growers who take longer to learn when and where to potty won’t accidentally go in the crate.
When it gets to the point that there’s little to no room behind the crate divider, it’s probably a safe bet that it can be removed.
Again, adjust the crate divider as needed if your puppy is still in the process of potty training.
If your dog learns to potty in the crate because the crate divider has been removed too quickly, they’ll learn to hate their crate.
Talk with your vet and get their advice if you have any questions or concerns.
How to Make Your Own Dog Crate Divider
Maybe you bought a crate that didn’t come with a divider, or got one as a hand-me-down and discovered the crate divider was thrown out long ago.
You don’t need to spend more money on an individual divider, which may be hard to find.
Instead, check out these easy steps for making a crate divider on your own.
Step 1: Get the Right Material
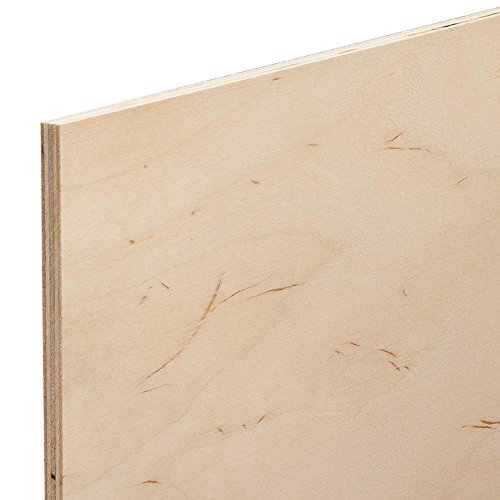
There are two main materials you can use to make a crate divider: corrugated cardboard or plywood.
If your puppy is a big chewer, you’ll want to go with plywood for your crate divider.
It’ll be stronger and last longer if your puppy decides to gnaw around the edges.
Corrugated cardboard is also an option, if your dog isn’t interested in chewing.
Make sure not to use regular cardboard, which is flimsy and could break if your dog lays against it[2].
Step 2: Measure the Crate
Use a tape measure to determine where the halfway point of the crate is, or wherever you decide the divider should go.
Measure from one side to the other on the inside of the crate to get an accurate width measurement.
Then measure from the bottom of the crate to the top for the height.
Mark these measurements on the cardboard or plywood, so you have the basic outline of your crate divider.
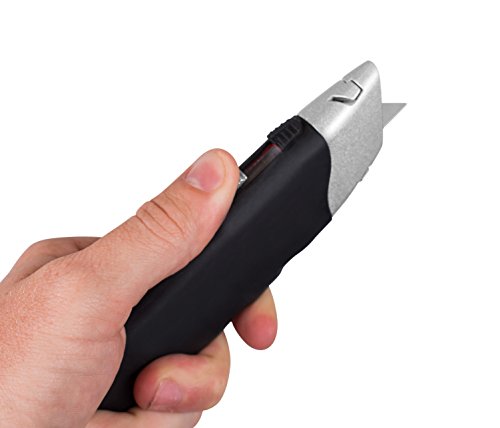
Step 3: Cut the Divider’s Shape
You should have a square or rectangle, depending on the crate’s shape.
Cut corrugated cardboard with box cutters or plywood with a table saw or hand saw.
It doesn’t have to be shaped perfectly but you should trim or sand any rough edges.
Make sure to not cut yourself or your nice antique table!
Step 4: Create the Holes
You’ll need to drill or punch holes into each corner of your crate divider so it can be attached to the crate walls.
Add more holes along the sides and top of the divider if you think it’ll need extra reinforcement.
Step 5: Secure the Divider
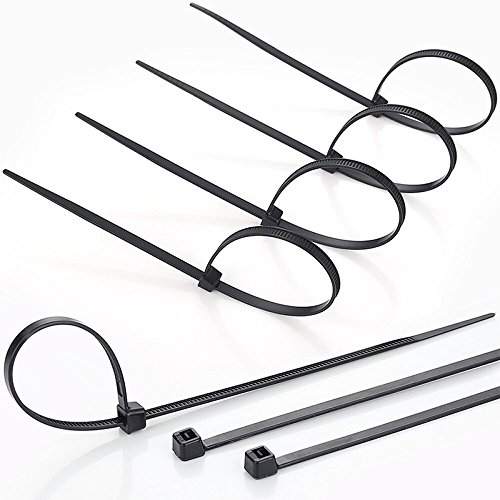
Slide the divider into the crate and attach it to the walls of the crate by using wire or cable ties[3].
Remember to cut off any extra ties or wiring that stick out after the divider has been secured.
That will keep your puppy safe from hurting themselves or chewing on what keeps the divider attached to the crate.
Check Up on the Crate Divider
Whether you get a crate with a divider or make one yourself, always remember to check up on it as your puppy grows.
It should be moved further back into the crate as your puppy grows, and even be completely removed once your puppy is big enough.